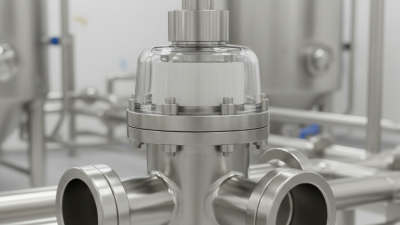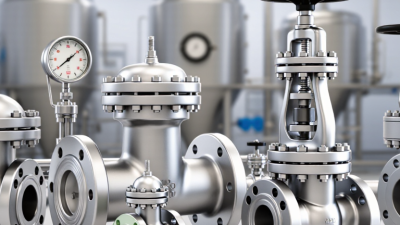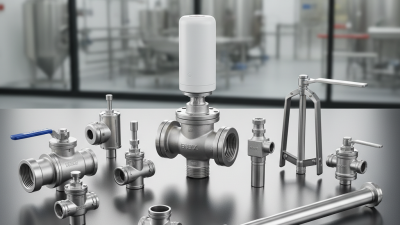
Choosing sanitary valves and fittings is not a catalog exercise. It is a decision about cleanability, product safety, downtime, and long-term operating cost. A valve may look polished, yet contain a hidden dead leg where residue remains. That detail matters.
Professor John Holah, a respected food-hygiene and hygienic-design authority, states the principle clearly: “Effective cleaning begins with hygienic design.” This idea should guide every selection. Buyers need to examine wetted materials, surface finish, drainability, elastomer compatibility, pressure ratings, and cleaning-in-place performance. They should also confirm whether components meet relevant sanitary standards, such as 3-A or EHEDG expectations, where applicable.
Small details matter.
The right choice depends on the process. A dairy line may require different seals from a beverage system. Pharmaceutical applications often demand tighter documentation and more controlled surface conditions. Temperature, viscosity, flow direction, cleaning chemicals, and maintenance access should be reviewed together. Stainless steel alone does not guarantee hygienic performance.
That is where many purchasing decisions become imperfect. We sometimes focus on purchase price and overlook labor, water use, replacement seals, or unplanned stoppages. We may also choose an expensive valve without proving that its design benefits the process. A reliable assessment compares risk, evidence, and actual operating conditions.
These seven tips for choosing sanitary valves and fittings offer a practical starting point. They encourage careful questions, measurable requirements, and honest reflection before installation. The best component is not always the most advanced one. It is the one that stays clean, performs consistently, and can be trusted after years of service.
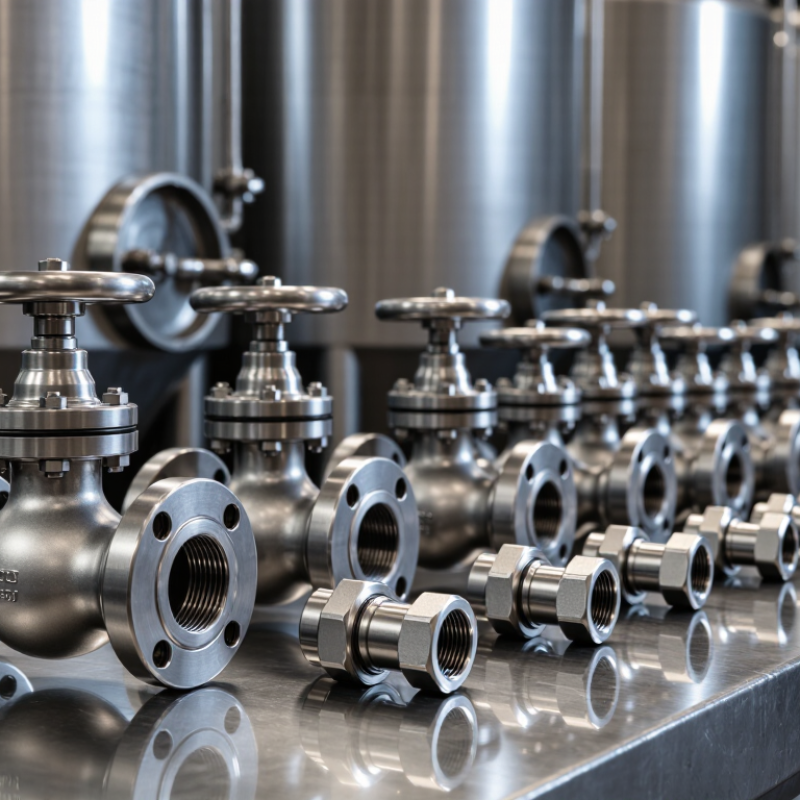
Choosing sanitary valves and fittings should begin with hygiene requirements, not connection size or purchase price. 3-A Sanitary Standards emphasize cleanable product-contact surfaces, smooth finishes, proper drainage, and the removal of crevices where residue can collect. EHEDG design criteria add practical focus on cleanability, sterilization, inspectability, and hygienic installation. These requirements influence valve geometry, diaphragm placement, weld quality, and gasket compression. Small details matter.
The WHO’s Estimates of the Global Burden of Foodborne Diseases reported about 600 million illnesses and 420,000 deaths annually from contaminated food. The World Bank’s 2019 report, The Safe Food Imperative, estimated that unsafe food costs low- and middle-income economies roughly 110 billion dollars each year. These figures show why a valve should be judged by its entire hygienic life cycle, not only its certification label. A poorly drained outlet can undermine an otherwise compliant process.
During selection, check whether every internal surface is reachable by the validated cleaning process. Confirm the specified surface finish, flow direction, drainability, elastomer compatibility, and operating temperature. 3-A documentation can support equipment acceptance, while EHEDG guidance helps assess hygienic design risks in real installations. Ask for test evidence, not vague claims. Then inspect the installed assembly, because alignment, dead legs, and damaged seals can change performance. One uncomfortable truth: even experienced teams sometimes approve a component before reviewing its maintenance access. That decision deserves a second look.
For hygienic processing, material selection starts with 316L stainless steel. Choose grades containing at least 16% chromium and 2% molybdenum. Chromium supports a protective passive layer, while molybdenum improves resistance to chlorides and pitting. The low carbon content also helps welded areas resist corrosion. Tip: Request a material certificate, not just a product description.
Inspect the internal finish closely. A smooth bore reduces residue, bacterial hiding places, and cleaning time. Avoid sharp transitions, exposed threads, and unnecessary dead legs. In plant inspections, tiny surface marks often become visible after repeated cleaning cycles. They can be easy to overlook. Tip: Check welds, gasket grooves, and valve cavities under strong light. Electropolishing may improve cleanability, but it does not correct poor design.
Match the valve and fitting to the actual service conditions. Review temperature, pressure, cleaning chemicals, flow velocity, and chloride exposure before ordering. Confirm that seals can tolerate the process and cleaning temperatures. Sanitary connections should align accurately, without forcing pipes into position. That small mistake can create stress. Tip: Compare the drawing with the installed layout, then verify the finished assembly. I have seen technically correct components fail because the installation created pooling or difficult drainage. A reliable choice combines verified chemistry, clean geometry, suitable seals, and documented inspection.
7 Tips for Choosing Sanitary Valves and Fittings
Specify ≤0.8 μm Ra on every product-contact surface, not only the visible tube bore. This finish limits crevices where residue and microorganisms may remain. In practical inspections, a polished fitting can still fail if welds, threads, or valve cavities are overlooked. A shiny surface is not proof.
Tip 1: Ask for roughness records and confirm the measurement method. Measurements should cover weld zones, ports, bends, and internal valve parts. Surface direction matters, so random readings can mislead. Tip 2: Check cleanability, drainability, and dead-leg dimensions together. A smooth surface cannot compensate for poor geometry. Product-contact seals should also suit temperature, cleaning chemicals, and process pressure.
Tip 3: Require inspection after fabrication and finishing. Welding, grinding, and passivation can change the final Ra value. I have seen specifications meet 0.8 μm Ra before assembly, then fail near repaired welds. That detail is easy to miss. Tip 4: Match fittings with compatible sanitary standards and documented materials. Traceable certificates improve reliability during audits and maintenance. Do not accept vague wording such as “highly polished.” State the limit clearly.
Match every valve connection to ISO 2852 before checking flow capacity. ISO 2852 specifies hygienic clamp dimensions, sealing interfaces, and connection compatibility. It does not determine the correct valve diameter. A DN50 connection may still need a smaller or larger internal passage. Measure actual flow, fluid viscosity, temperature, and pressure loss.
Start with the process flow range, not the pipe size. Calculate velocity and pressure drop at minimum and maximum flow. Oversized valves often operate nearly closed, reducing control accuracy. Undersized valves increase shear, noise, and cleaning difficulty.
Check the manufacturer’s Cv data against your measured conditions. Water-like liquids behave differently from syrups, creams, and protein solutions. I have seen a DN40 valve selected for a DN40 line, then fail to deliver the required flow. Pipe matching was correct. Process sizing was not.
Keep dead legs short and inspectable. EHEDG guidance commonly uses a 3:1 length-to-diameter limit for hygienic dead-leg design.
Confirm gasket materials, surface finish, and temperature limits together.
Verify ISO 2852 dimensions with gauges, not photographs.
Allow extra capacity for future production, but avoid excessive oversizing.
Record the calculation and challenge one assumption. A clean design can still be wrong when real viscosity changes during production.
7 Tips for Choosing Sanitary Valves and Fittings
Tip 1: Verify that every elastomer seal has documentation for FDA 21 CFR 177.2600 compliance. This regulation covers rubber articles intended for repeated food-contact use. Request the exact material grade, curing method, and supplier declaration. Do not accept a general “FDA compliant” statement without supporting records.
Tip 2: Check CIP compatibility under real operating conditions. Review cleaning chemicals, concentration, temperature, exposure time, and flow velocity. A seal may tolerate alkaline cleaner but swell during acid rinsing. Steam cycles can also change hardness and compression set. Small details matter. Ask for test data when available. A certificate alone is not enough.
Tip 3: Inspect the complete valve assembly, not only the seal. Confirm drainability, surface finish, weld quality, and the absence of dead legs. Product residue can hide around poorly designed seats or fittings. Match the seal compound to the process fluid and cleaning program. In practice, many failures come from incorrect installation torque rather than defective material.
Tip 4: Request traceability for seals and replacement kits. Lot numbers, dimensions, and storage conditions support reliable maintenance. Keep the records near the equipment. This sounds basic, yet it is often missed.
CIP validation should reflect actual plant conditions, including temperature changes and repeated cycles. If the process changes later, review compatibility again. That extra review may feel excessive, but assumptions become expensive when seals leak or shed particles.
Use the chart as a compliance reference when reviewing elastomer seals used in repeated food-contact applications. FDA 21 CFR 177.2600 specifies maximum extractable limits for rubber articles; CIP chemical and temperature compatibility must also be confirmed with the seal manufacturer.
By continuing to browse or by clicking “Accept All Cookies,” you agree to the storing of first- and third-party cookies on your device to enhance site navigation, analyze site usage, and assist in our marketing efforts. View our Privacy and Cookie Policy.