
7 Tips for Choosing a J1772 Charging Station
Choosing a J1772 charging station means matching its features to your vehicle, home, and routine. A higher power rating may sound attractive, but your vehicle and electrical service determine what you can use. Start by checking the vehicle manual for its AC charging limit and connector compatibility. Then have a qualified electrician assess the panel, circuit capacity, cable route, and installation location. That matters. On a cold evening, a cable that reaches the driveway without stretching can matter more than a polished app. Think about where the station will sit, who will use it, and whether the plug stays protected from rain and impacts.
Compare amperage, adjustable output, warranty length, safety listings, and support—not only headline charging speeds. Confirm that the product is listed by a recognized testing laboratory and suited to the intended indoor or outdoor setting. Check the cable length against your actual parking position. Smart scheduling and energy monitoring may help, but they are not essential for every household. I would not treat an app as proof of quality; software can add convenience and another thing to troubleshoot. Read warranty terms carefully, especially coverage for the cable, weather exposure, and customer service. Costs vary. These seven tips focus on fit, safety, and long-term ownership. Some features look impressive yet solve little.
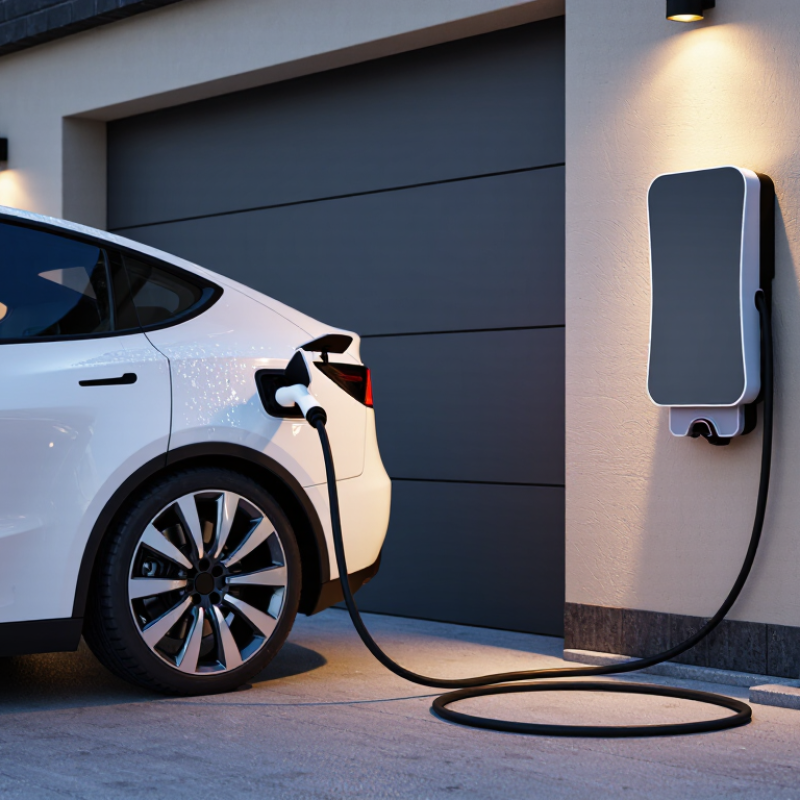
Understand J1772 Compatibility and Your Vehicle’s Charging Needs
A J1772 station can be a good match for many electric vehicles, but the plug is only part of the decision. Check the charging inlet and owner’s manual before you buy. Some vehicles use a different inlet and may need a compatible adapter for AC charging. Small detail, big difference. Confirm that any adapter is approved for your vehicle and rated for the station’s output.
Your car’s onboard charger sets a ceiling on how quickly it can accept AC power. A station with a higher output will not make a vehicle charge faster than that limit. Check both ratings, and consider your usual routine: overnight home charging has different demands from frequent daytime top-ups. Also check the electrical circuit’s capacity with a qualified electrician; the station’s maximum rating alone does not tell you what a home circuit can safely support.
Cable reach matters in real life. Measure from the planned mounting spot to the vehicle’s inlet, with room for the cable to bend without stretching. Check whether the connector latches securely and whether the cable remains manageable in cold weather. It is easy to focus on plug compatibility and overlook these everyday details. That assumption deserves a second look. J1772 is for AC charging, so confirm that the station type matches your intended use; DC fast charging requires different equipment.
7 Tips for Choosing a J1772 Charging Station - Understand J1772 Compatibility and Your Vehicle’s Charging Needs
| Tip | What to Check | Why It Matters | Practical Guidance |
|---|---|---|---|
| 1 Confirm the connector fits | Check your vehicle’s charging-port type and the station’s connector. | J1772 is a common AC charging connector in North America, but not every vehicle has a J1772 inlet. | Match the connector to your vehicle, or verify that a suitable, vehicle-compatible adapter is available and permitted for the intended use. |
| 2 Identify your vehicle’s AC charging limit | Find the maximum AC charging power or current listed in your vehicle’s manual or specifications. | The vehicle’s onboard charger converts AC power to battery-ready DC and limits how quickly the vehicle can accept AC charging. | A station with a higher output rating will not make the vehicle charge beyond its onboard AC limit. |
| 3 Choose the appropriate power level | Compare available supply voltage, station current, and the vehicle’s AC charging limit. | Charging power depends on the electrical supply and the lowest applicable limit among the circuit, station, and vehicle. | At 240 volts, 32 amps is approximately 7.7 kW and 40 amps is approximately 9.6 kW before charging losses. Treat these as estimates, not guaranteed charging rates. |
| 4 Check the electrical installation | Confirm whether the station is plug-in or hardwired, and have the electrical circuit assessed for its required voltage and current. | A charging station must be installed on a suitably rated circuit in accordance with local electrical codes and the equipment instructions. | Ask a qualified electrician to verify circuit capacity, wiring, protective devices, and any permit requirements before installation. |
| 5 Select a suitable cable length and location | Measure the distance from the planned station location to the vehicle’s charging port; check indoor or outdoor suitability. | A cable that is too short can restrict parking, while equipment not rated for its environment may not be appropriate for outdoor exposure. | Choose a reach that works for your usual parking position, and confirm the station’s environmental rating and installation instructions. |
| 6 Consider your charging routine | Estimate how many miles or kilometers you drive daily and how long the vehicle is typically parked. | For many drivers, regular overnight or workplace parking provides enough time for AC charging without requiring the highest available output. | Compare the station’s expected charging rate with your routine rather than choosing a higher rating solely for occasional long trips. |
| 7 Review safety and useful features | Check applicable electrical-safety certification, warranty, cable management, and features such as scheduled charging or load management. | Appropriate certification and installation instructions support safer use; scheduling or load management may help fit charging into household energy use. | Verify that certification is accepted in your region, and choose only the features that suit your installation and charging habits. |
Note: J1772 charging stations provide AC power. Actual charging speed varies with the vehicle, electrical supply, station settings, temperature, and charging losses. DC fast charging uses a different charging system.